

Connect your Namecheap account to InfraNest so you can manage your domains, DNS records and SSL certificates in one place, without switching between sites.
Overview
- Once connected, your Namecheap domains and their DNS records appear automatically in InfraNest.
- You can renew domains, change nameservers, edit DNS records and keep an eye on SSL certificates — all from InfraNest.
- This is a good fit if you manage several domains and want one place to handle them alongside the rest of your infrastructure.
Before you start
You'll need API access turned on in your Namecheap account, your API username and key, and InfraNest's IP address approved in your Namecheap account. See Create a Namecheap API key for the steps.
Connect Namecheap
- Go to Integrations and open Namecheap.
- Give the connection an Account label so you can recognise it later — for example, "Main account". This is optional.
- Choose which features to use it for: Domains, DNS and Certificates. Leave any turned off that you don't need.
- Enter your API username and API key. The whitelisted IP is already filled in — check it matches the one you approved in Namecheap.
- Leave Email me when this integration has problems ticked if you'd like a heads-up by email if something goes wrong.
- Select Connect.
InfraNest checks your details and starts bringing in your domains straight away.
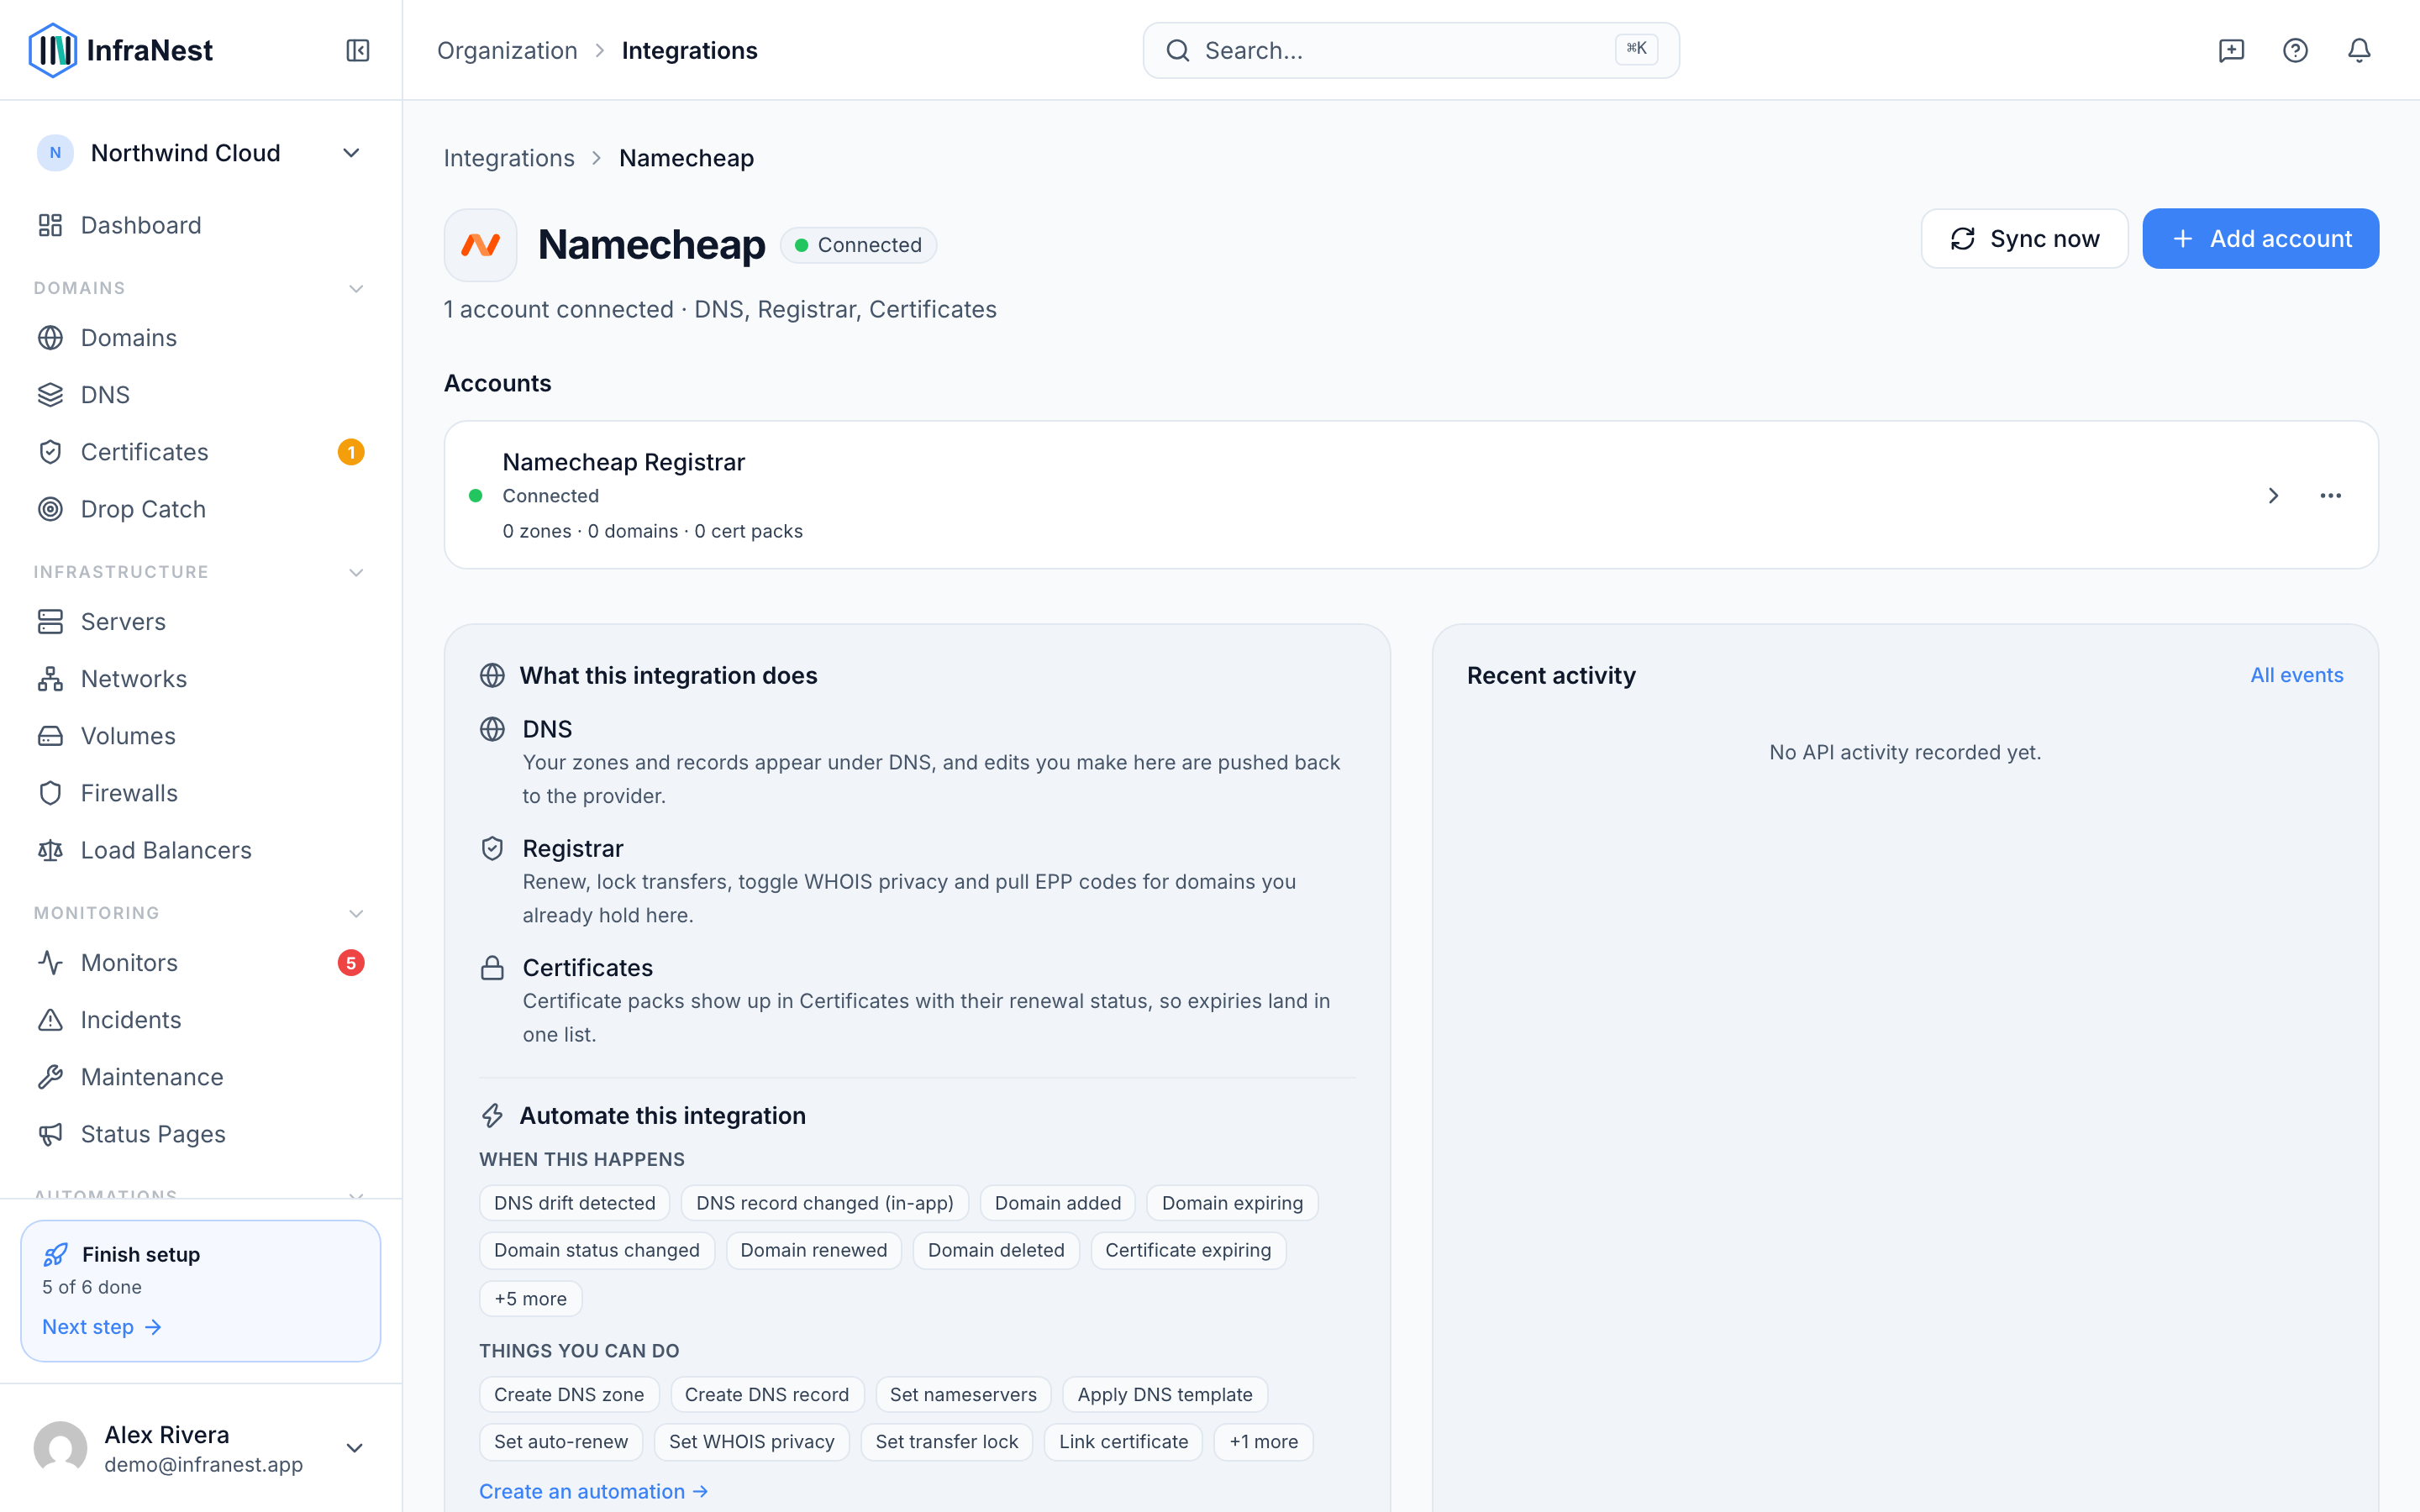
What you get once it's connected
- Domains — see all your Namecheap domains, renew them, change nameservers and contacts, lock transfers and turn on WHOIS privacy.
- DNS — view and edit your DNS records. When you save a change, InfraNest updates the whole list of records at once — that's simply how Namecheap works.
- SSL certificates — any certificates on your Namecheap account show up in your certificate list.
NoteRegistering a brand-new domain is still done on the Namecheap website — that part isn't available through this connection.
Tips
- Some domain endings (like .us and .eu) need a few extra details. InfraNest asks you for those only when they apply.
- If InfraNest's IP address ever changes, you'll need to approve the new one in your Namecheap Whitelisted IPs again.
Troubleshooting
- "Authentication failed" or an IP error — check that the IP address is in your Whitelisted IPs in Namecheap and matches the one shown on the connect screen, and that API access is switched on.
- Nothing appears after connecting — make sure your API key is still valid, then run the sync again from the Namecheap page under Integrations.
- A certificate is missing — only active certificates appear; unused certificate slots are skipped.
TipIf you're not sure your API key still works, try reconnecting from the Namecheap page under Integrations before contacting support.
Was this article helpful?