

Connect your TransIP account to InfraNest so you can manage your VPS servers, DNS, domains and SSL certificates all in one place.
Overview
- Manage TransIP VPS servers, DNS records, domains and certificates directly from InfraNest.
- You choose which features (Cloud, DNS, Domains, Certificates) to connect.
- Setup takes just a few minutes once you have your API key ready.
Before you start
You'll need your TransIP account name and an API key (a private key). See the Create a TransIP API key article for the steps.
Connect TransIP
- Go to Integrations and open TransIP.
- Give the connection an Account label (Optional).
- Choose which features to use it for: Cloud, DNS, Domains and Certificates.
- Enter your account name and paste your private key.
- Leave Email me when this integration has problems ticked if you'd like email warnings.
- Select Connect.
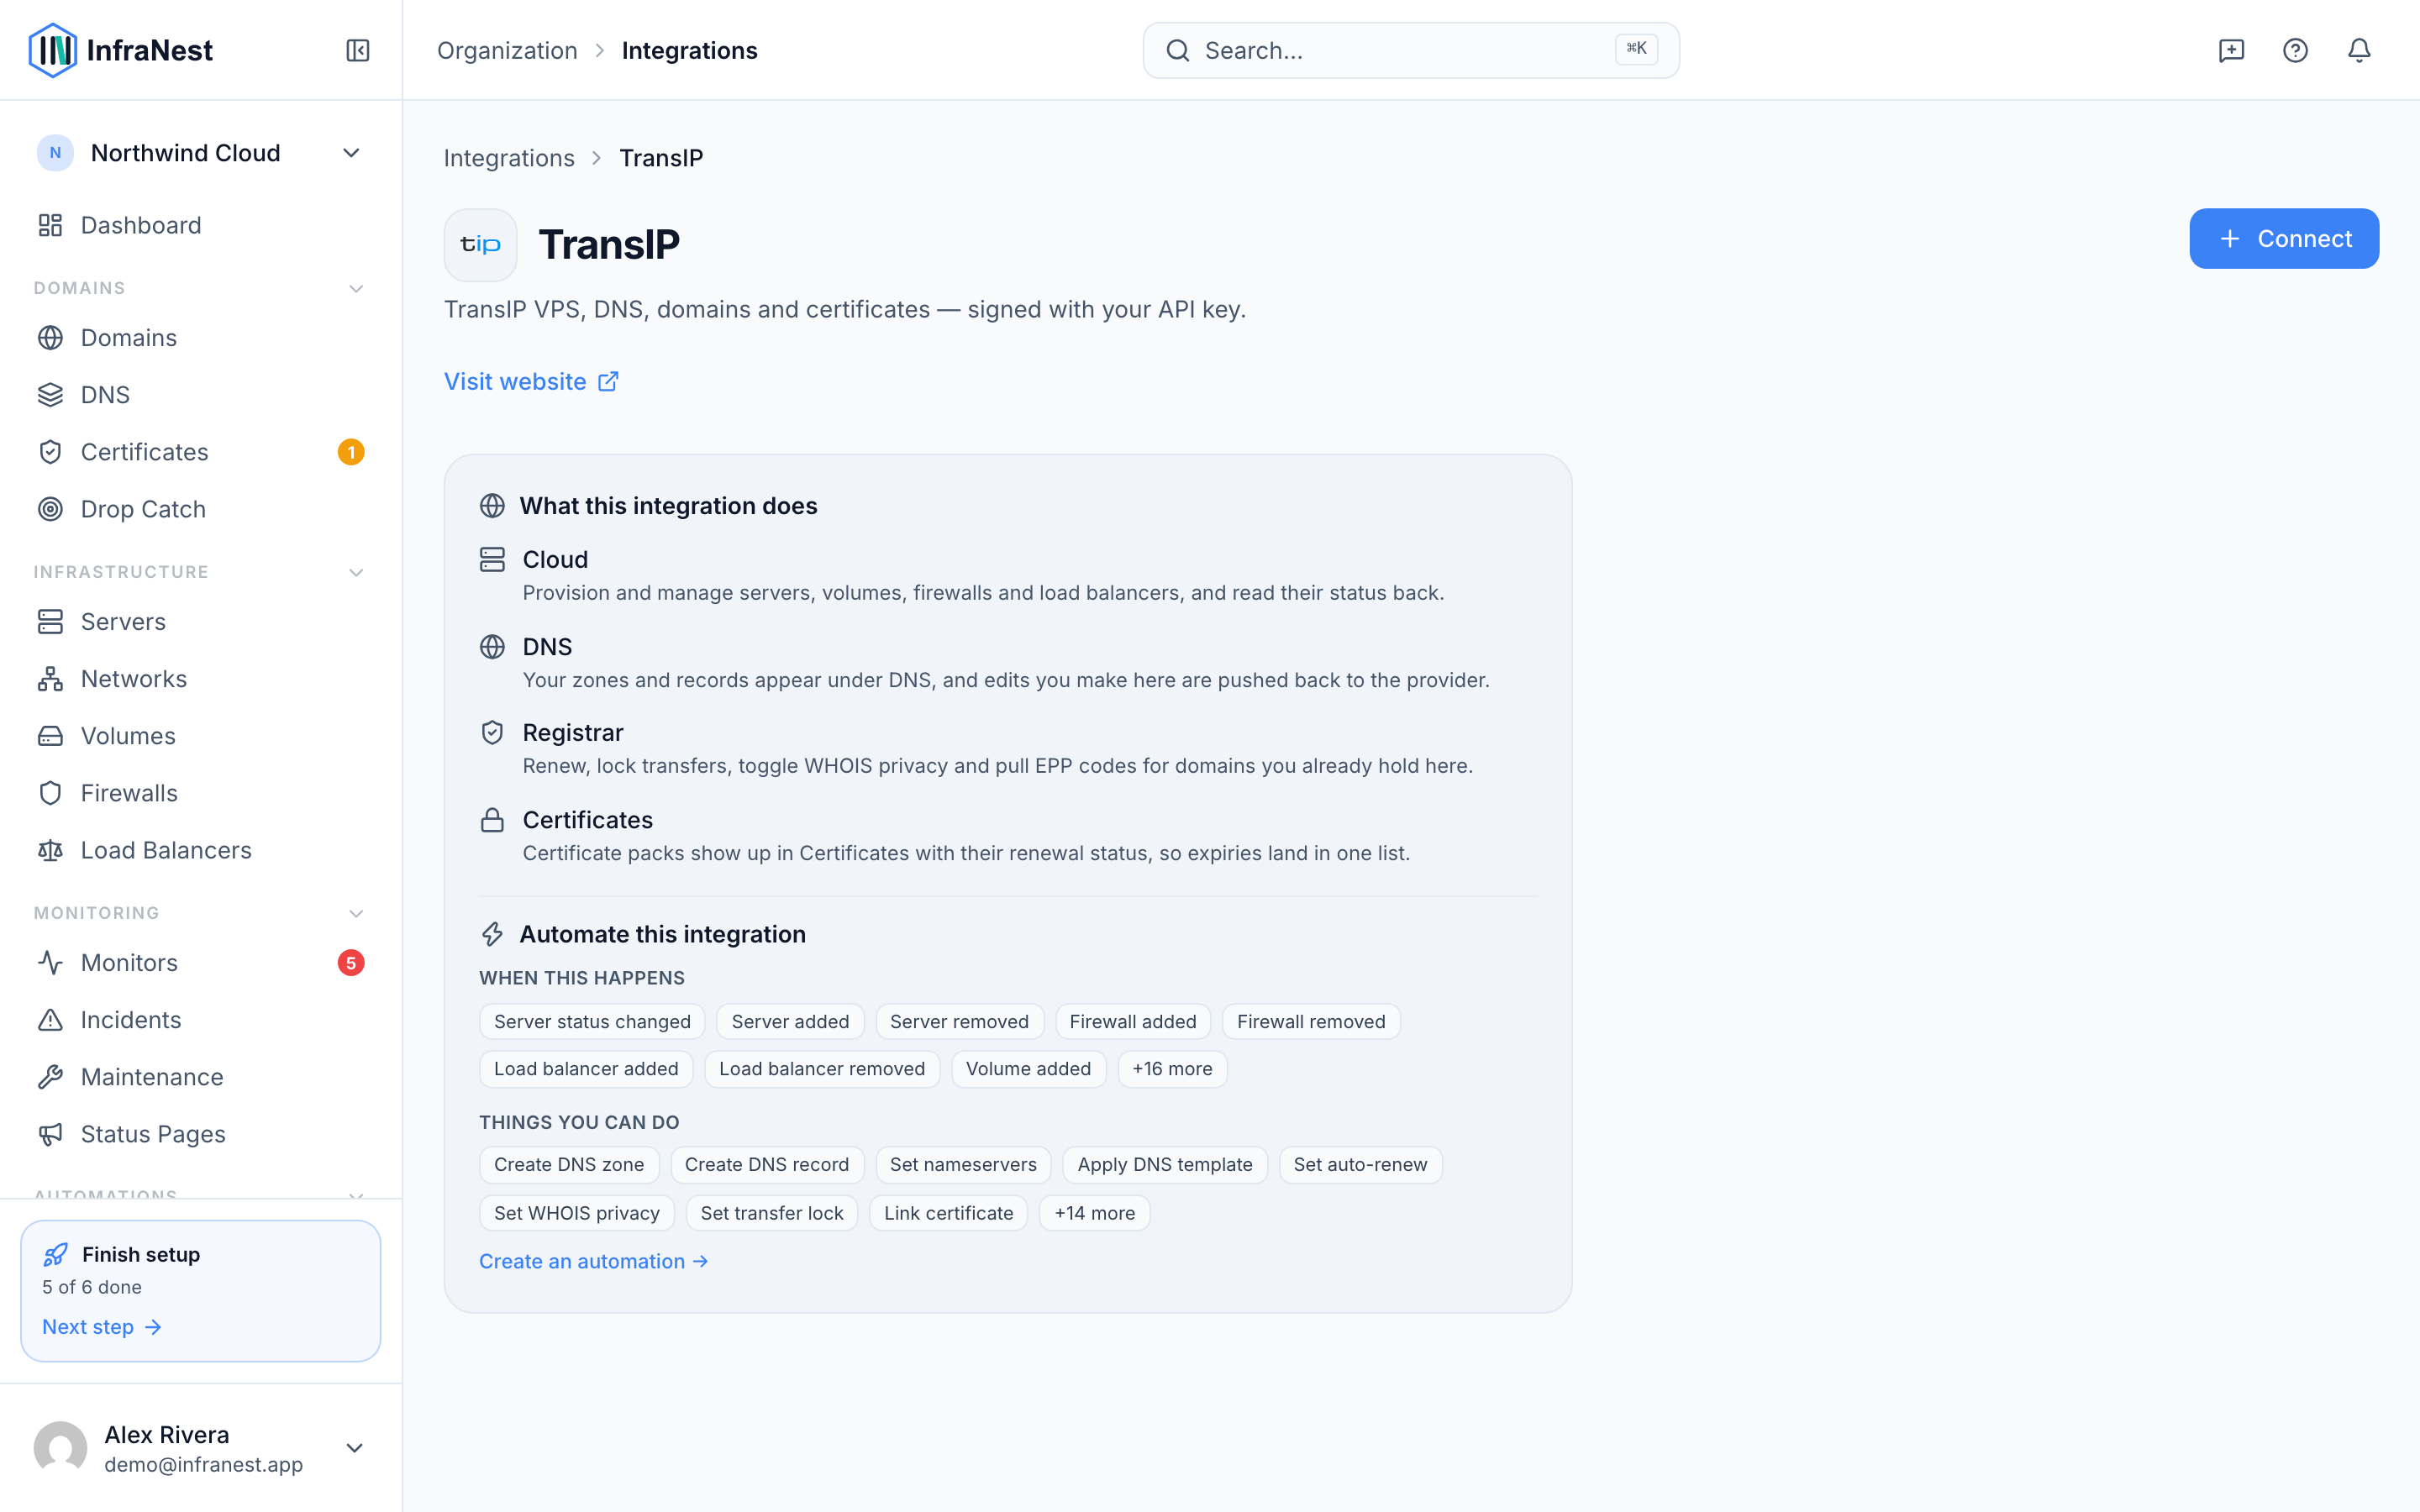
What you get once it's connected
- Cloud (VPS) — see your VPS servers and their specs, manage power state, and set reverse DNS.
- DNS — view and edit records for your TransIP domains.
- Domains — register, transfer in, renew, and manage nameservers, contacts and DNSSEC.
- SSL certificates — your TransIP certificates appear in your certificate list.
Tips
- DNS zones follow your domains — they aren't created on their own, so you won't see a zone until the matching domain is connected.
NoteTransIP doesn't offer a transfer lock or WHOIS-privacy product, so those options won't appear for TransIP domains.
TipYou can switch auto-renew off through InfraNest, but turning it back on has to be done in the TransIP control panel.
Troubleshooting
- "Authentication failed" — double-check your account name, make sure you pasted the whole private key, and confirm API access is turned on in TransIP. If you restricted the key by IP address, add InfraNest's IP to the allowed list.
Was this article helpful?