

InfraNest lets you manage your cloud servers — and the firewalls, volumes, networks and load balancers around them — from one place, without hopping between provider consoles. This article is for anyone getting started with servers in InfraNest.
Overview
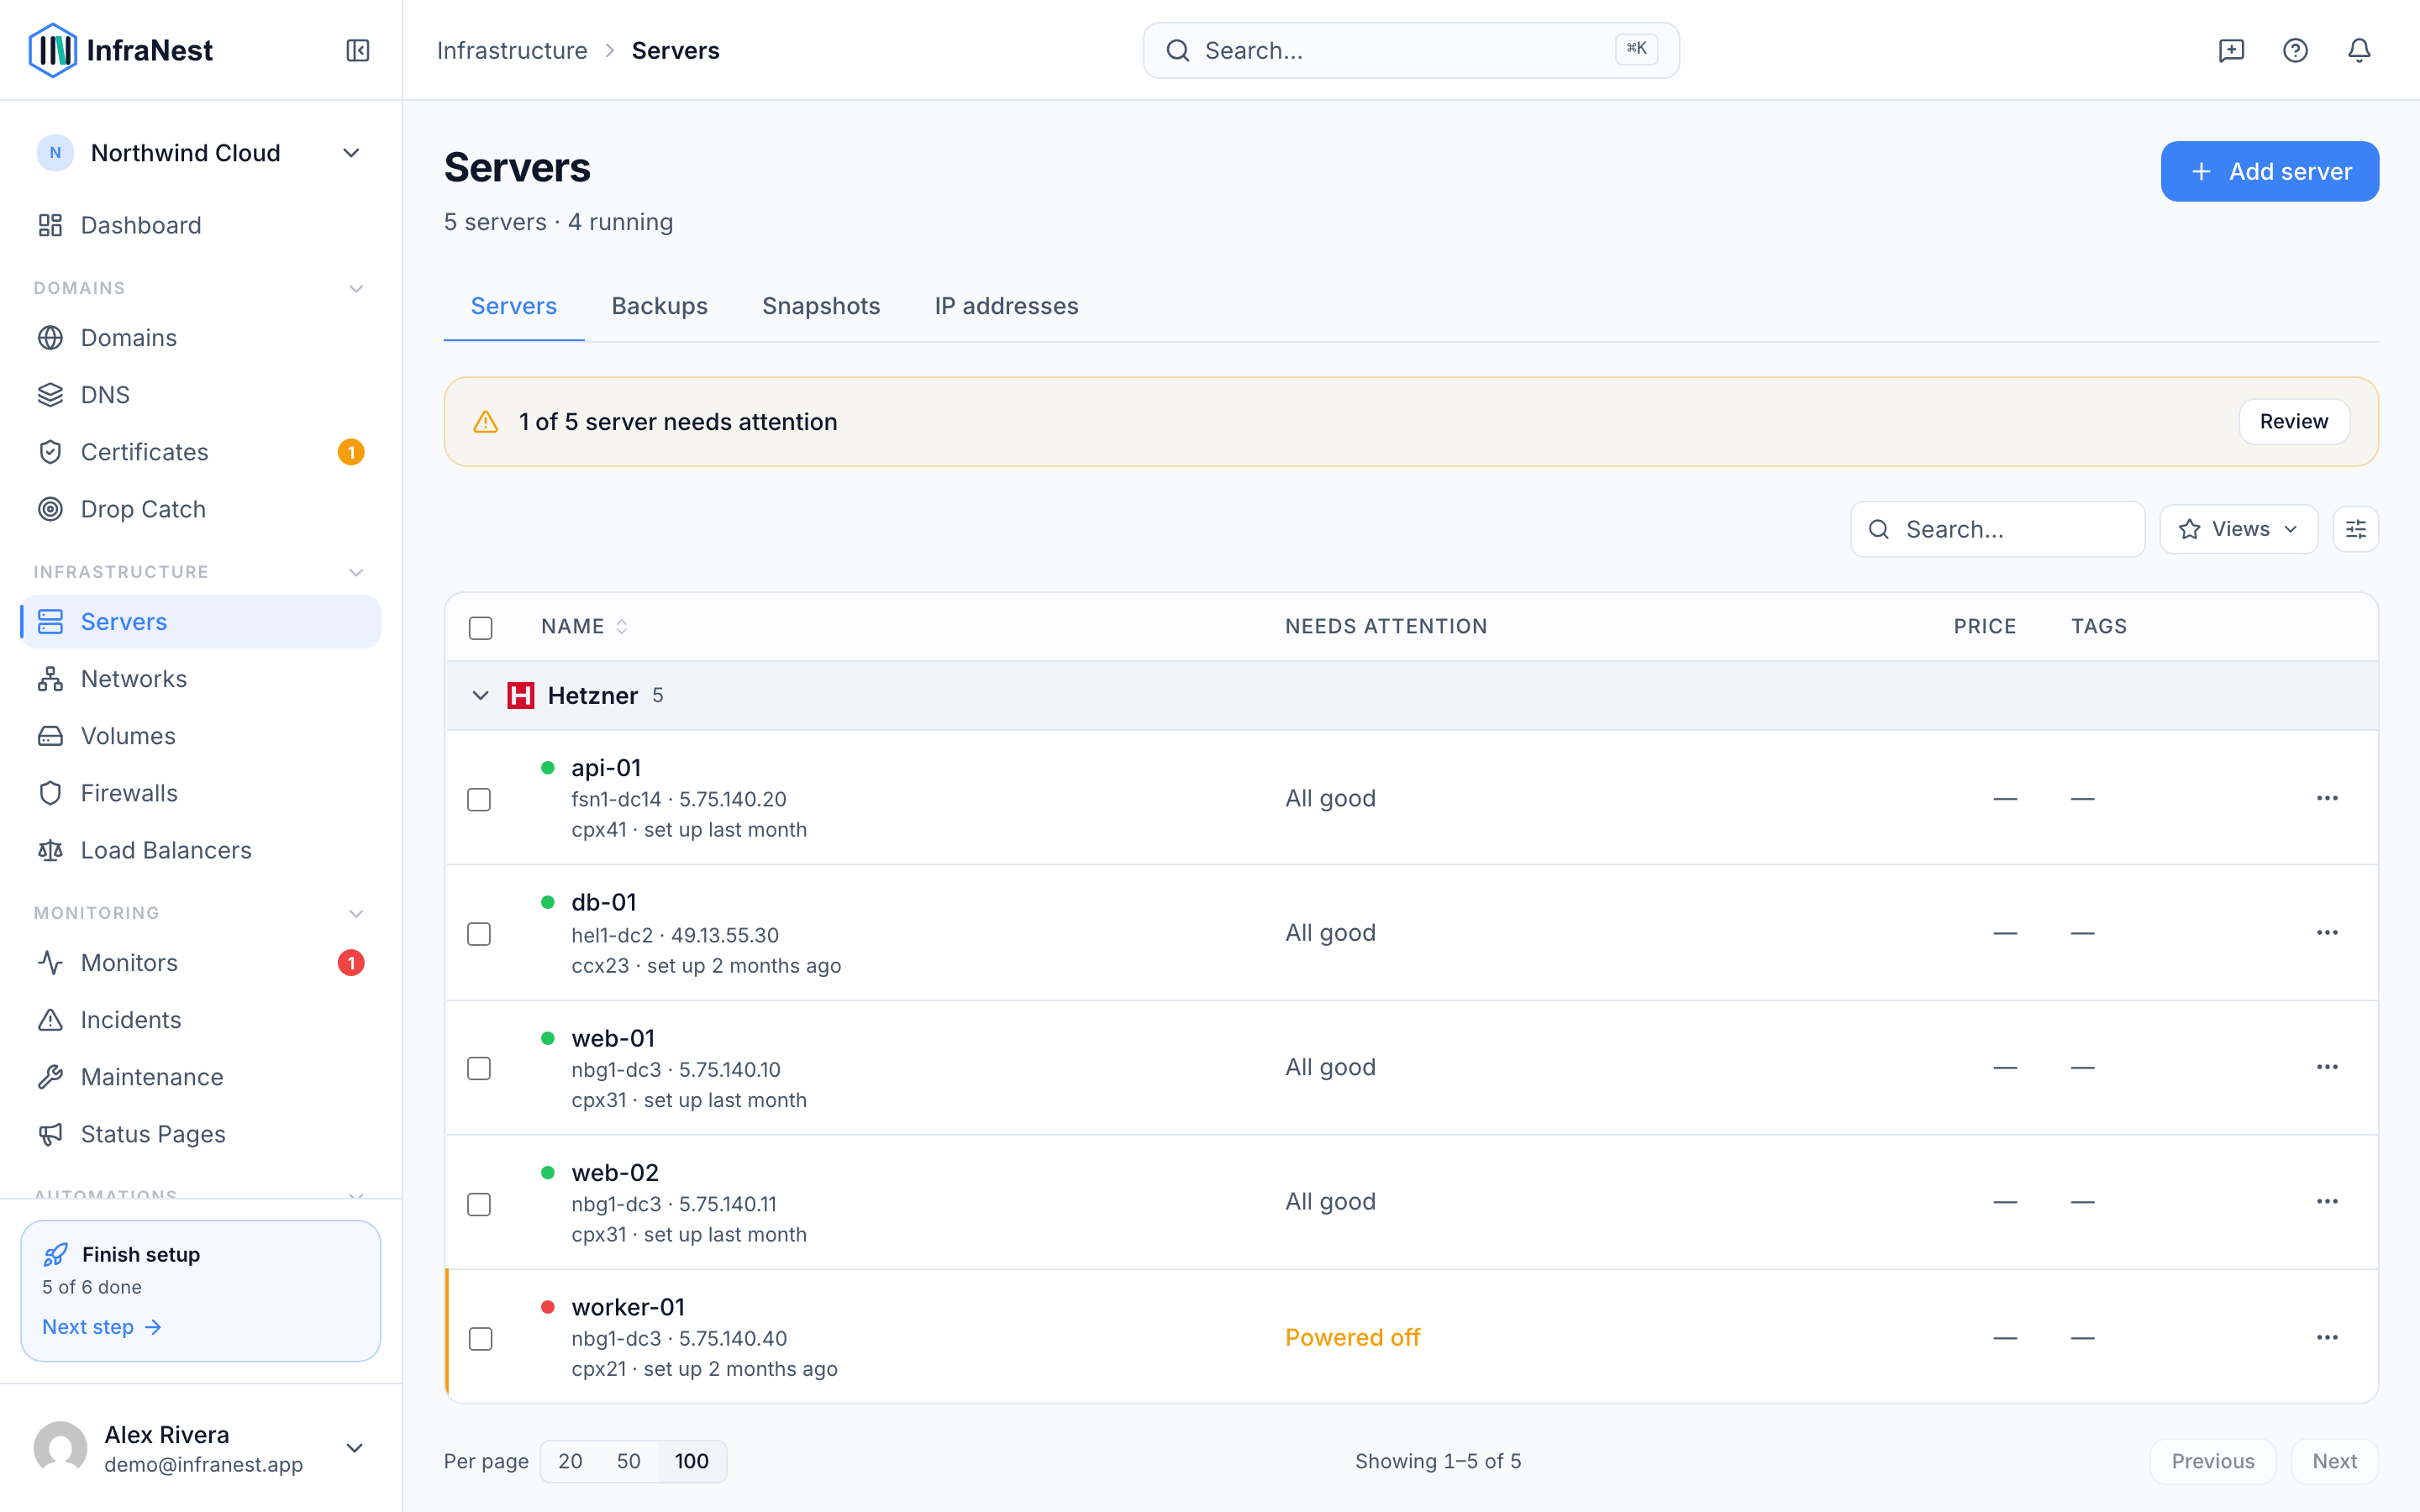
- See every server across your connected providers, with its Status, type, IP addresses, datacenter and Tags.
- Run the full lifecycle of a server — create, power on/off, reboot, rebuild, use rescue mode, open a console, back up, snapshot and delete.
- Keep servers secure with a per-server security advisor that flags risky settings and lets you fix them in one click.
- Watch server health with CPU, network and disk metrics, and get alerted when something stays wrong for too long.
- Manage Firewalls, Volumes, Networks and Load Balancers alongside your servers, all in the same place.
Find and open your servers
- Open Servers from the sidebar.
- Use Search to find a server by name, or Filter to narrow the list by Status or Tags.
- Select a server from the list to open it and manage it in detail.
NoteInfraNest currently supports Hetzner Cloud (full lifecycle management) and TransIP.
Create a server
- From the Servers page, select Add server.
- Choose a provider under Choose a provider.
- Choose a location under Choose a location.
- Choose a plan under Choose a plan.
- Configure your server under Configure your server — set the Operating system, add SSH keys, and optionally add a Cloud-init (optional) script.
- Fill in Server details, including the Server name.
- Review the Image & access settings, then select Create server.
While your server is being provisioned, you'll see Creating server…. Once it's ready, you'll see a Server created confirmation and your new server will appear on the Servers page.
Manage a server's lifecycle
- Open the server you want to manage from the Servers page.
- Go to the Power & Maintenance tab.
- Use Power on, Power off, Shutdown or Power Reset to control the server's power state.
- Use Rebuild to reinstall the operating system, or Rescue to boot into rescue mode for troubleshooting.
- Use Console to open a live console session if you need direct access.
- To remove the server entirely, go to Rebuild & delete, select Delete server permanently, type the server's name to confirm, then select Delete server.
WarningDeleting a server is permanent and can't be undone. Make sure you have a backup or snapshot first if you might need the data again.
Keep a server secure
- Open the server and look for its best-practice checks section.
- Review flagged issues such as SSH is open to the internet, RDP is open to the internet, Backups off, or No firewall attached.
- Select Hide passed checks if you only want to see what still needs attention.
- Use the suggested action for each issue — for example Fix in firewall, Open backups, Open networking or Review volumes — to resolve it.
Watch server health
- Open the server and go to the Metrics tab.
- Review the graphs for CPU, Network Traffic, Network PPS, Disk IOPS and Disk Throughput.
- Go to Alerts to set up a metric alert — select Add metric alert, choose a Metric, set whether it should trigger above (>) or below (<) a value, and set how long it must stay in breach for {n} min.
- Save the rule. You can Disable rule or Delete alert rule later if needed.
Manage what's around your server
- Open the server and use the tabs to manage its surroundings:
- Networking — attach or manage a Private network, assign a Floating IP, or edit reverse DNS.
- Firewalls — attach an existing firewall or select Create a new firewall instead.
- Volumes — use Attach existing volume to add extra storage.
- Backups & Snapshots — turn on Automatic backups or select Start manual backup.
Tips
TipUse Tags to group related servers (for example, by project or environment) — it makes searching and filtering on the Servers page much faster.
Was this article helpful?