

API tokens let you connect InfraNest's full REST API to your own scripts or tools, so you can automate anything you'd normally do in the app. This is for anyone who wants to manage their infrastructure programmatically instead of clicking through the app.
Overview
- API tokens are how you authenticate when calling InfraNest's API.
- Each token can be scoped to only the areas and actions it needs.
- Tokens are managed from a dedicated page where you can track usage and revoke access anytime.
Create a token
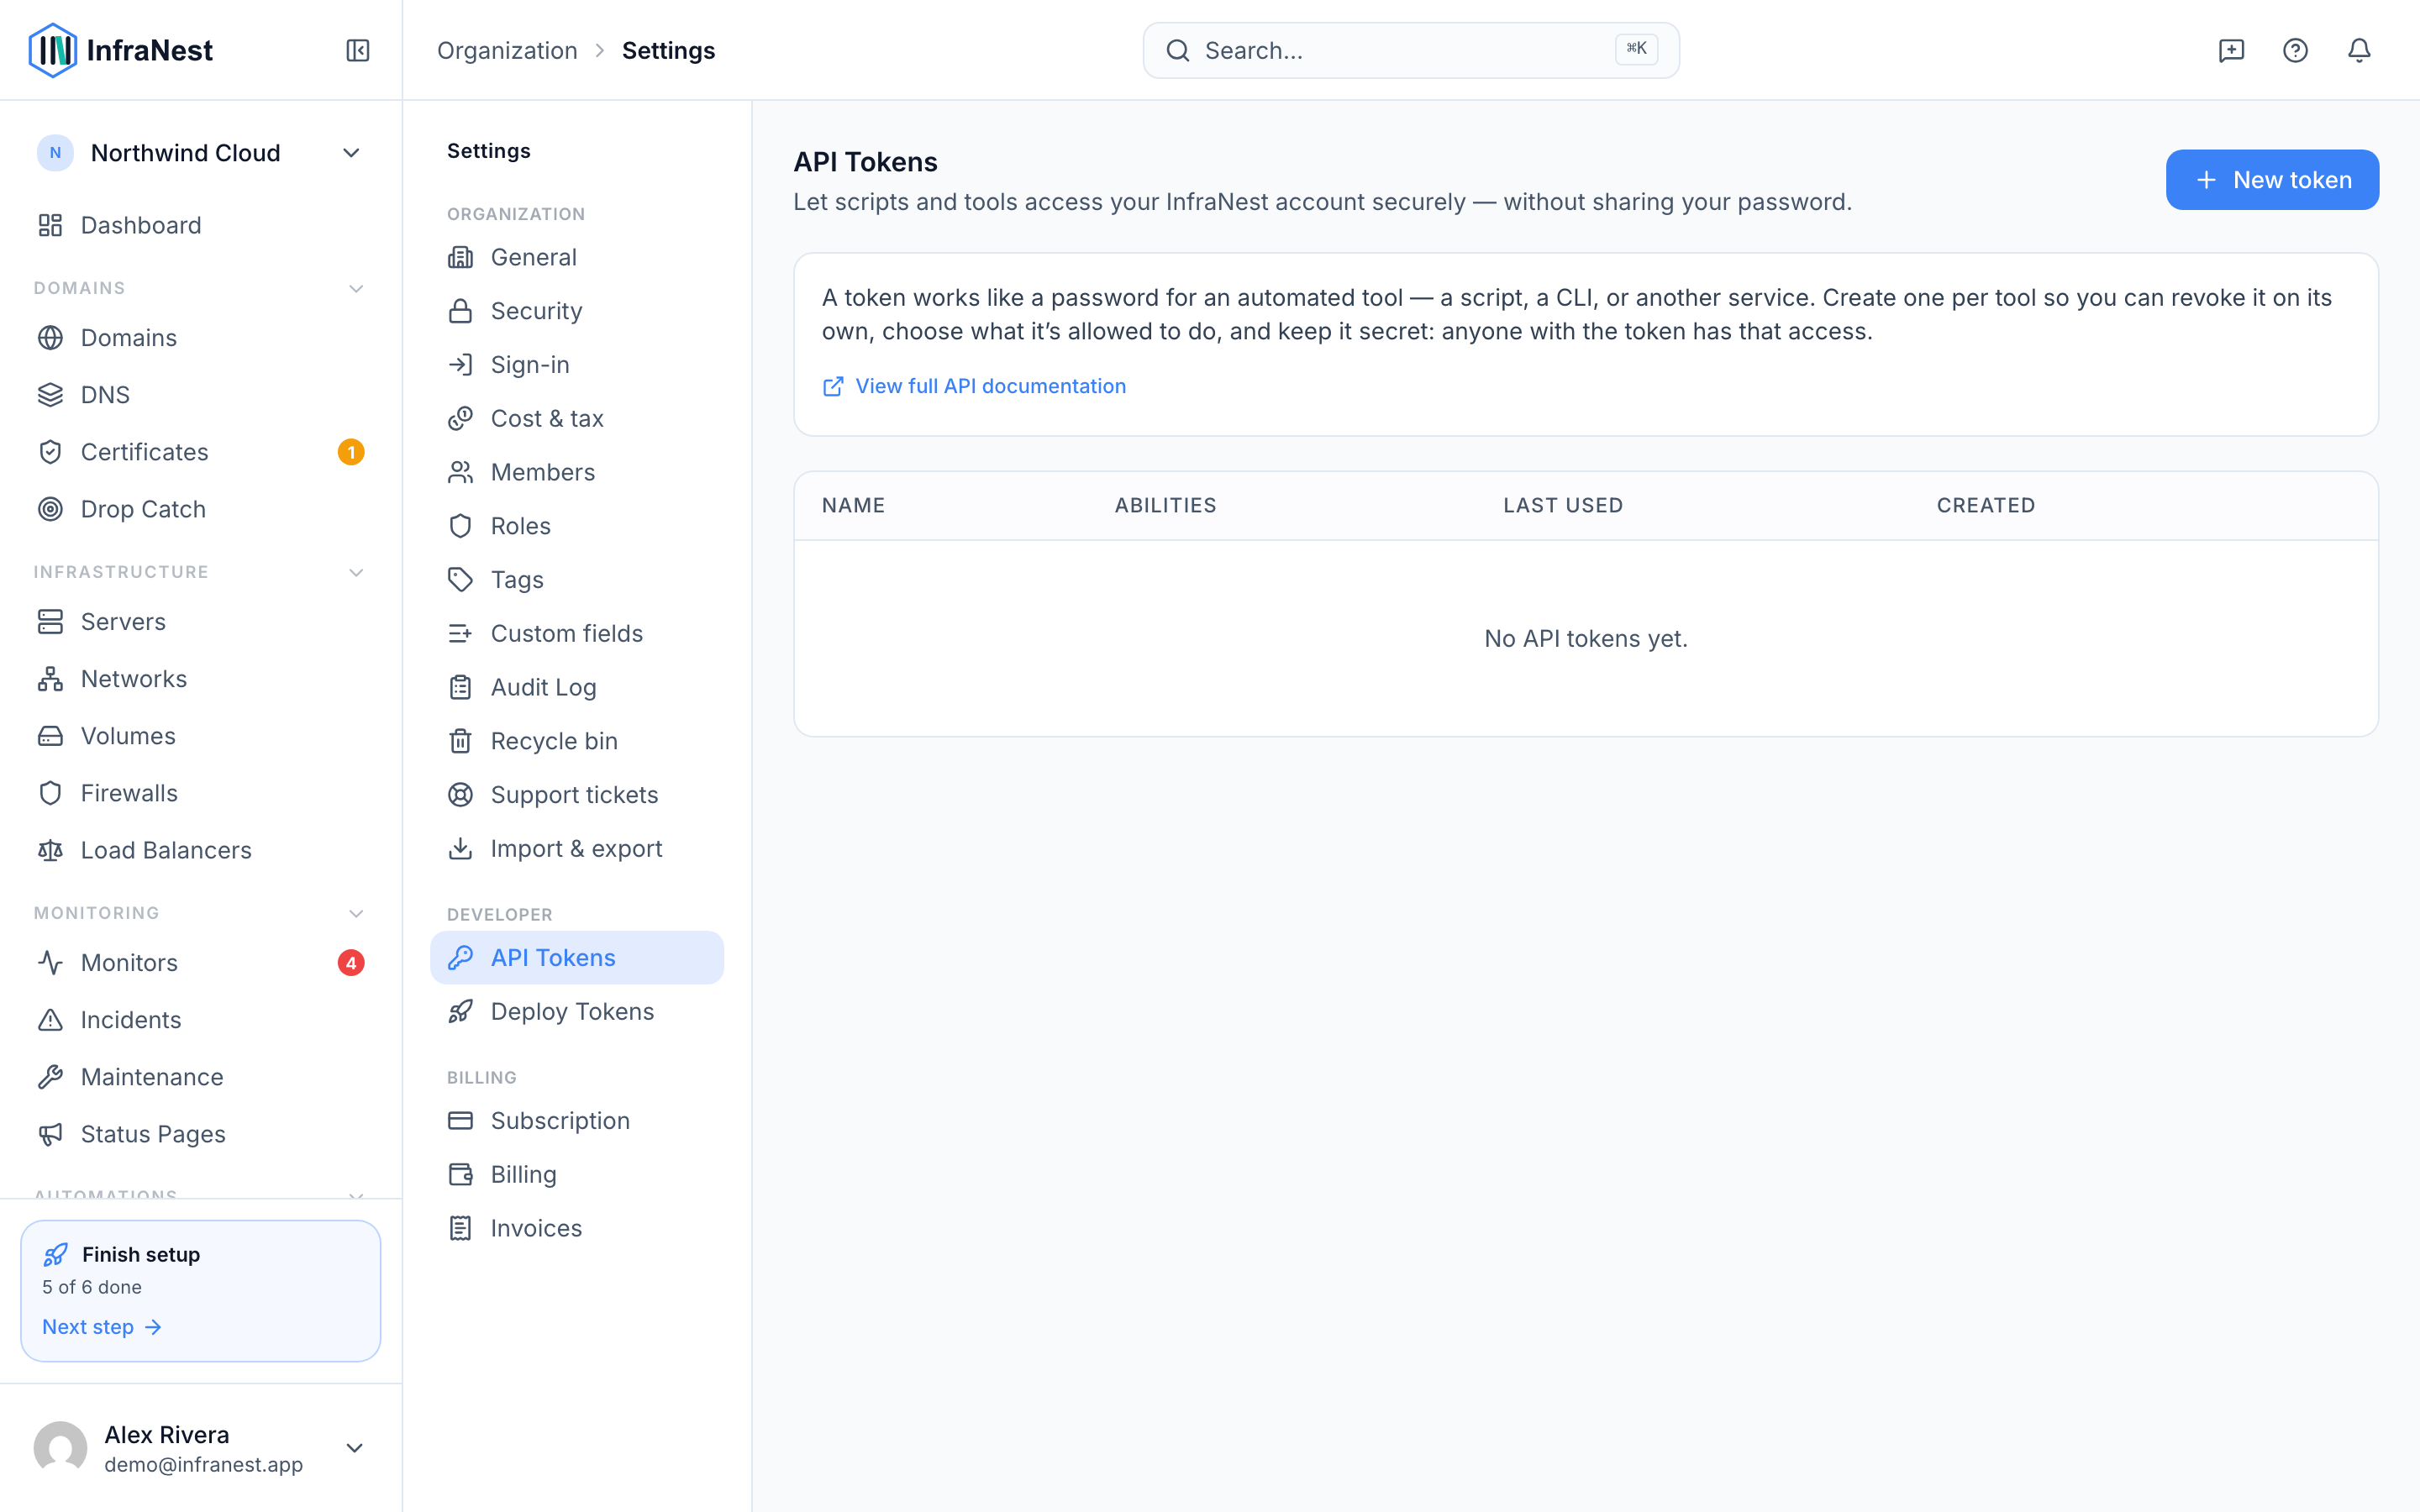
- Go to API Tokens and select Create.
- Give it a name, choose its abilities (what it can do), and optionally set an expiry.
- Select Copy to save the token right away — it's shown only once. Afterwards you'll only see a hint of the last few characters.
WarningOnce you leave the token screen, you won't be able to view the full token again. If you lose it, you'll need to create a new one.
Understand abilities
Abilities control exactly what a token can do:
- Choose read or write access for each area — certificates, DNS, domains, cloud, and monitoring.
- Use the read-only preset for tokens that only need to view data.
- Use full access for tokens that need to do everything.
TipGive each token only the abilities it actually needs. A token with narrower access is safer if it's ever exposed.
Manage tokens
- Go to API Tokens to see your full list of tokens.
- Check the Status column to see when each token was last used.
- Select Remove next to any token to revoke it immediately.
TipFor details on every available action, select View full API documentation from the API Tokens page.
Troubleshooting
Some actions — like manual syncs or Check now requests — are rate-limited per organisation to protect the platform. If you go over the limit, you'll get a message asking you to try again shortly.
Was this article helpful?