

Show customers and your team the real-time health of your services, without any manual updates — this article is for anyone setting up their first InfraNest status page.
Overview
- Pulls live data straight from your existing monitors, so there's nothing to update by hand.
- Lets you brand the page, control who can see it, and choose exactly what information appears.
- Automatically displays incidents and maintenance windows as they happen.
Create a page
- Go to Status Pages and select New status page.
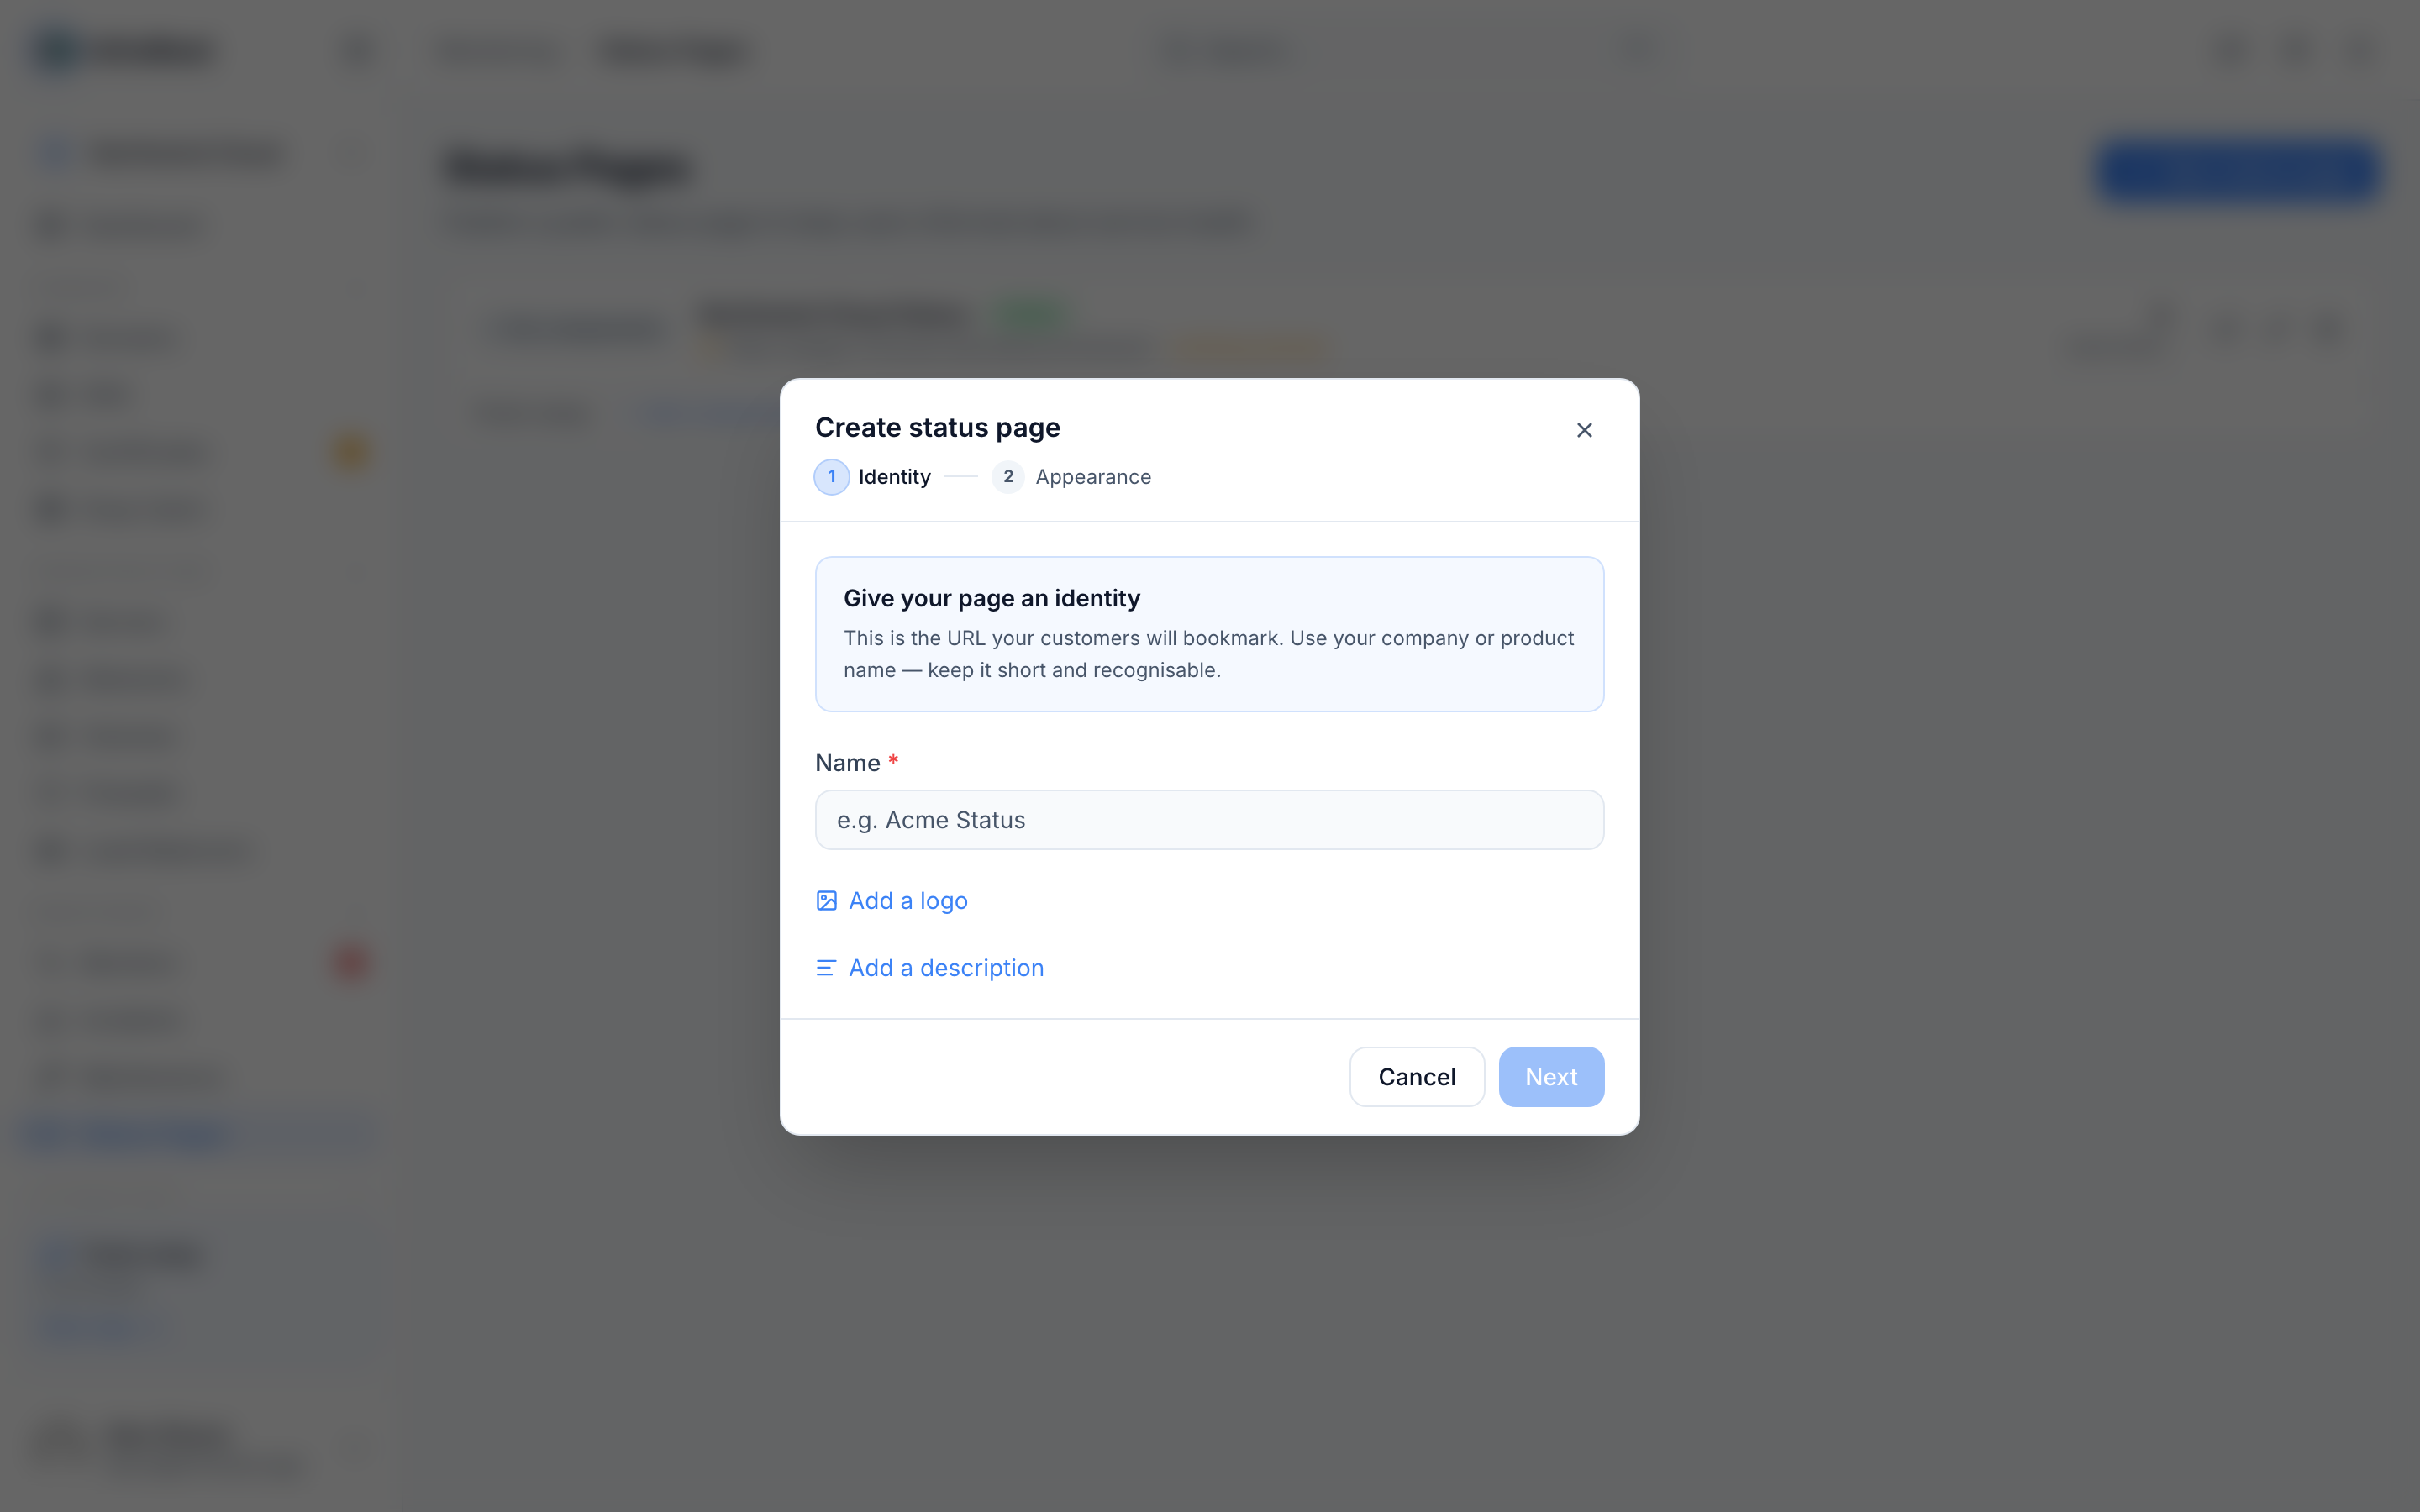
- Give your page an identity: add a Display name, an optional description, and a Slug (this sets your Public URL: /status/{slug}).
- Select Add components to add the services you want to show. Each component links to one of your existing monitors, so it displays that monitor's live Status and uptime automatically. You can use Link to monitor to connect a component to a check, and group related components together using Group name (for example, "Website", "API", "Email") for a clear layout.
- Select Continue once your components are set up, or choose I'll do this later to finish this step another time.
- Select Create page to finish setup.
Brand your page
- Open your status page and go to the Identity section.
- Select Click to upload or or drag and drop to add a Logo, or paste a Logo URL.
- Go to Pick a theme under Page theme and choose the look you want (Auto, or another available option).
- Go to the Footer section to set your Custom footer text and Footer link URL.
- Select Save changes when you're done.
TipTurn on Show “Powered by InfraNest” if you're happy crediting InfraNest in your footer — it's optional and can be switched off anytime.
Choose what to display
- Open your status page and go to the Display settings.
- Use the toggles to control what appears on the public page:
- Show uptime percentage
- Show 90-day uptime bar
- Show incident history
- Show component group labels
- Show tags on public page
- Select Save changes to apply your choices.
Incidents and maintenance windows created from your monitoring show up here automatically — there's nothing extra to configure.
Control who can see it
- Open your status page and go to Access control.
- Under Visibility, choose whether the page is Public or Password protected. If you choose password protection, set a password (or leave the field blank to keep the current one, shown as (currently set)). You can select Remove password protection at any time to make it public again.
- Under SEO & Discovery, use Allow search engine indexing to control whether the page can appear in search results.
- Select Save changes.
Add a custom domain
- Open your status page and go to Add a custom domain under Use your own URL.
- Enter your Custom domain.
- Choose Set it up for me if you want InfraNest to manage the domain for you (We manage {zone} for you), or follow the Setup guides: to point your domain's CNAME target yourself. InfraNest shows you the exact record to create (Creates {record} CNAME → {target}).
- Save your changes. Your domain will show as Domain pending while InfraNest checks it, then Domain verified once it's live. If something's wrong, you'll see Domain error or Not pointing to the right target — double-check your CNAME record and try again.
NoteDomain verification isn't instant. If your page still shows Pending verification, wait a little and check again — DNS changes can take time to spread.
Enable subscriber notifications
- Open your status page and find Subscriber email notifications.
- Select Yes, enable subscriptions to let visitors sign up for updates.
- Visitors can then use Get notified or Subscribe via Slack on the public page. New subscribers show as Confirmed once verified.
- Manage your list from the subscribers view — you can Remove all if needed. If nobody has subscribed yet, you'll see No subscribers yet.
Tips
- Use Announcements to post short updates on your page — select New announcement, set Show from and Show until dates, and save.
- Check the Embed section for ready-made options like Status badge, Service list, Banner strip, and Summary card if you want to show status info on your own website.
Troubleshooting
- No components yet: You haven't added any services to track. Go back to Add components and link them to your monitors.
- {name} is down or {name} and {n} more are down: This reflects a live problem picked up by your monitoring — select Open incident for details.
- Domain error: Your custom domain isn't set up correctly. Recheck the CNAME record against the Setup guides:.
Was this article helpful?
Related articles
About status pagesA status page turns your monitoring into a branded public page — on your own domain with automatic HTTPS — that shows customers what's up, what's degraded…Use a custom domain for your status pageHost your status page on your own domain — like status.example.com — with HTTPS set up automatically.Status page subscribers and announcementsLet visitors subscribe to your status page for updates, and post announcements to keep everyone informed.